


How to Use a Shackle Hitch for Recovery: Shackle Hitch How To 101
How to Correctly Use a Shackle Hitch for Recovery - Step-by-Step Overview Process
Shackle hitches are a must-have for anyone considering getting into the off-road world. Not only does their simplistic design make them easy to use, but they are also very affordable. However, there is a right and a wrong way to use one.
Recovering a stuck vehicle can be extremely dangerous if not taken seriously. A majority of the companies that manufacture recovery gear are aware of how dangerous a recovery can be. This is why their products are tested before they become available to purchase. This means that it's on you to learn how to safely recover a stuck vehicle. It's important to realize that not every recovery is going to be the same.
There is almost always more than one force acting upon the stuck vehicle, which is what makes a recovery a little tricky. This is why it is not only crucial that you have an arsenal of recovery gear, but that you also know how to use them properly. A shackle hitch is a great tool to start your recovery gear collection.
Shackle hitches provide a safer, reliable method of recovering a vehicle.
What makes it so safe and reliable?
For starters, the hitch receiver that the shackle block would plug into is bolted onto the frame. You also do not run the risk of the tow strap coming off like you would with a ball hitch.
Tools and Materials
- Shackle Block
- Hitch Pin (and retention clip)
- Bow Shackle (D-Ring)
- Soft Shackle (optional)
- Snatch Strap
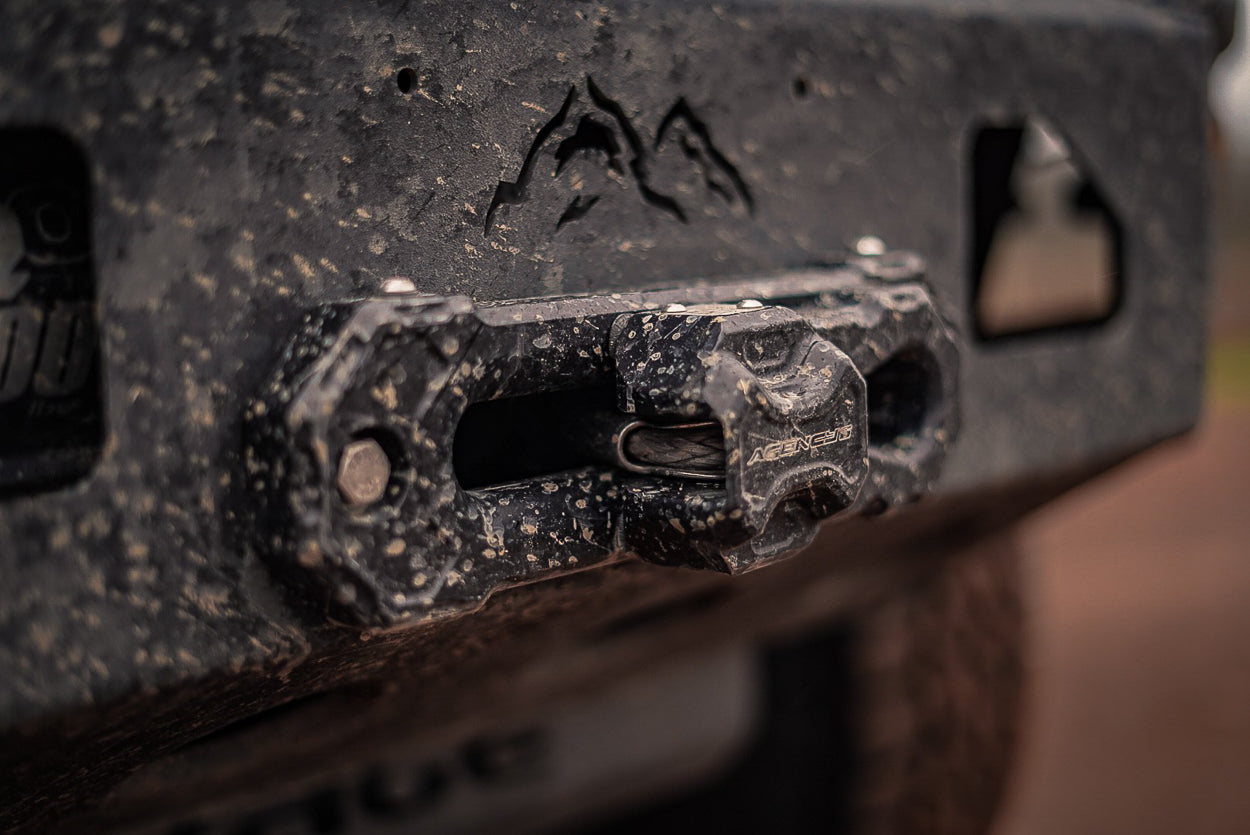
Step 1. Slide Shackle Block into Hitch Receiver

Step 2. Hitch Pin & Clip

Inset the ⅝" hitch pin through the hitch receiver and shackle block. Depending on which shackle block you have, there is going to be more than one hole you can put the hitch pin through.
The horizontal holes should only be used for towing or tugging straight back. You should avoid sideloading a bow shackle with a single strap. Some shackles have holes for a vertical mounting option.
If you ever found yourself in a situation where you needed to sideload a shackle, then you would simply flip your shackle block into the vertical position.
The retaining pin must be put on the end of the hitch pin. This small pin keeps the hitch pin from coming loose, which in turn keeps the shackle block in place. Failure to put the retaining pin on may result in injury.
Step 3. Open Bow Shackle & Unscrew Pin

Step 4. Insert Strap Through Bow Shackle

Once the shackle is open, slide the snatch strap into the shackle. It is important to make sure that the strap sits flat in the shackle. In other words, the strap should not be folded over itself. The strap should also be at the very bottom of the shackle.
Step 5. Lock Bow Shackle

Once the snatch strap is inside the shackle, it's ready to go back on the shackle block. Once you twist the pin back into the shackle, it is a good habit to lock the shackle pin with a screwdriver.
During a recovery, the last thing you want to happen is to have a piece of equipment come loose. Locking the shackle pin with a screwdriver assures that the pin will not come loose during the recovery process.
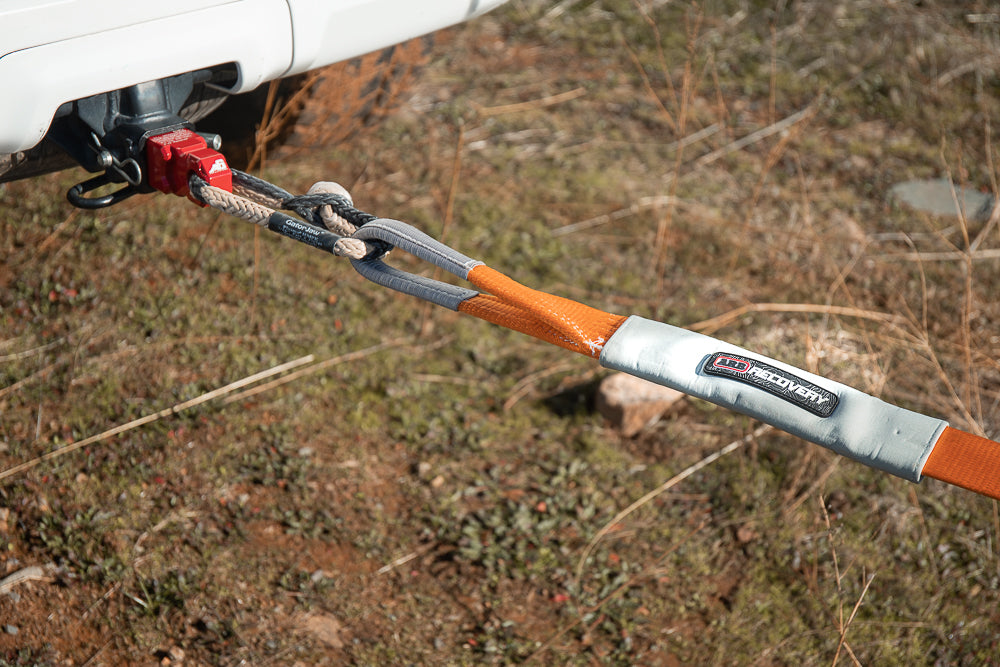
Snatch Strap Correct Position

The correct position of a snatch strap in a horizontally mounted shackle block should be straight back. However, in most cases, you will have to off-center the strap by a couple of degrees. This is referred to as side loading and should be avoided when possible. It is recommended that if you do have to sideload with a single snatch strap, then you should not go past 45 degrees on the shackle.
Snatch Strap Incorrect Position

One of the things to consider when using recovery gear is the load which they're rated for (load rating). When you sideload a shackle, that load rating decreases. When the load rating of a shackle is decreased, it has the possibility of failing.
Side Loading Bow Shackle (is it ok?)

Pictured: Side Loading shackle - Do not attempt recovery with strap directly from the side.
This is why it's nice to have a shackle block that is capable of being mounted vertically. If you find yourself in a situation where you can't get yanked out straight back, then you just flip your shackle block into the vertical position.
Side Loading With Vertical mount

Pictured: Side Loading Shackle with a Vertical Mount Hitch Receiver
With this method, you get a wider range of recovery motion as opposed to direct side loading because the shackle retains its WLL or load rating. With a vertically mounted hitch receiver and shackle, the direct pull is on the intended point of the Shackle Block.
When is Side Loading Okay?

However, there are ways to safely sideload a strap to a shackle mounted horizontally. To do it safely, you must sideload the shackle with more than one snatch strap and in exactly the same location. One way to do this is to hook both snatch straps or winch lines up to the shackle. Next start winching simultaneously.
Pictured above is one strap; however you would use another strap in exactly the same orientation on the other side of the the shackle. This is known as a collector ring and the two straps should not exceed a 120-degree angle in the strap. This should not be used in a recovery with straps and three vehicles, but rather, a recovery with only a winch at this point. This distributes the load on the shackle whereas using a single strap would significantly lessen the load rating. When it comes to recovery, safety is your number one priority.
Some bow shackles are rated for single side loading applications, from both a 45-degree (30% loss WLL) or even 90-degree (50% loss WLL); however in an off-road recovery situation, we do not recommend recoveries with a 45-degree or even 90-degree side loading angle.
This is why it's important to understand how to use the equipment you plan on using, as well as understanding proper and improper recovery techniques.
Leave a comment
Comments will be approved before showing up.
Also in Blog


